SUSTEAS - News

Winter Kitchen Essentials You Shouldn’t Miss This Season
As the temperature drops and the holiday season approaches, winter becomes the perfect time to enjoy warm meals, cozy gatherings, and home-cooked comfort food. Whether you’re preparing hearty stews, fresh smoothies, or movie-night snacks, having the right kitchen tools makes all the difference. With Black Friday and Cyber Monday just around the corner, now is the perfect time to upgrade your kitchen with essential appliances—many of which will be available at unbeatable prices. Below are some must-have kitchen products to consider this winter, especially if you’re planning to take advantage of Black Friday deals and Cyber Monday discounts. 1. Juicer: Fresh Vitamins for the Cold Season Winter can be tough on the immune system, so keeping your vitamin intake high is more important than ever. A quality juicer allows you to make fresh fruit and vegetable juices at home, ensuring you get all the nutrients without added sugars or preservatives. Warm apple ginger juice, citrus blends, and carrot-orange smoothies are not only healthy but also delicious during the colder months. Juicers today are designed to be quiet, efficient, and easy to clean, making them a practical addition to any kitchen. Tip: Look for a juicer with a powerful motor, stainless steel filter, and a design that’s simple to assemble. During Black Friday sales, many premium models drop significantly in price—so it’s a great moment to invest in one. 2. Grater or Vegetable Chopper: Meal Prep Made Easy Winter meals tend to be more elaborate—think stews, baked dishes, salads, and warm sides. A grater or vegetable chopper can save you a ton of prep time. Whether you’re slicing potatoes for a creamy casserole, shredding cheese for pasta, or chopping vegetables for soup, a good chopper speeds up the process while keeping your hands safe. Many modern models even come with interchangeable blades that allow you to switch between slicing, dicing, and julienning with ease. This is especially helpful if your holiday dinners require prepping large amounts of ingredients. Expect to find Cyber Monday kitchen tool bundles that include multiple cutting attachments at lower prices than usual. 3. Electric Grill: Indoor Barbecue Without the Cold Just because it’s winter doesn’t mean you have to give up on grilled food. An electric grill allows you to enjoy BBQ-style cooking without stepping outside in freezing weather. These compact grills are perfect for steak, fish, veggies, and even sandwiches. Compared to traditional grilling, electric grills are smoke-controlled, healthier, and easier to clean. Many models use non-stick surfaces, meaning you only need a small amount of oil. During the Black Friday kitchen appliance sale, electric grills are often among the top discounted items—so keep an eye out for high-quality brands at great prices. 4. Popcorn Maker: Cozy Movie Nights Done Right Winter is movie season—and nothing pairs better with a movie than fresh, warm popcorn. A popcorn maker is a fun, family-friendly appliance that transforms your living room into a mini movie theater. It is also a healthier alternative to microwave popcorn, as you can control how much butter, salt, or seasoning you add. Popcorn makers come in compact, stylish designs and are affordable even before discounts—but Cyber Monday deals often make them even more budget-friendly. 5. Electric Kettle: Warm Drinks Anytime Whether you love hot chocolate, tea, or coffee, an electric kettle is a winter essential. Modern kettles heat water quickly and evenly, and many now feature temperature-control functions ideal for different types of beverages. During Black Friday and Cyber Monday, kettles are among the most heavily discounted small appliances—making it an ideal time to upgrade to a stylish and durable model. Why Buy During Black Friday & Cyber Monday? This time of the year is famous for its massive online and in-store discounts. If you’re looking to refresh your kitchen or prepare for hosting holiday gatherings, Black Friday and Cyber Monday sales are the best opportunities to: Save up to 50% or more on premium brands Purchase kitchen bundles at significantly reduced prices Get early holiday shopping done without stress Shopping early also ensures you avoid out-of-stock issues as peak holiday season approaches. Final Thoughts Winter cooking can be joyful, warm, and memorable—especially when you have the right tools. Whether it’s a juicer to boost your health, a grater to save prep time, an indoor grill to keep barbecue season alive, or a popcorn maker for relaxing nights at home, upgrading your kitchen brings both convenience and happiness. With Black Friday and Cyber Monday deals coming soon, now is the perfect moment to plan your purchases and grab these winter kitchen essentials at the best prices of the year.
Learn more
Black Friday Kitchen Deals 2025 | Up to 50% OFF on Juicers, Grills & More – SUSTEAS
🔥 The Biggest Black Friday Kitchen Appliance Sale of the Year The wait is over — Black Friday 2025 is here, and SUSTEAS is bringing you unbeatable kitchen appliance deals! From high-performance juicers and electric Fryer to modern indoor grills, you can now enjoy up to 50% OFF. Plus, our Black Friday Price Guarantee means you can shop early and still get the best price through the big day. 🛍️ Why Shop SUSTEAS This Black Friday? Here’s why thousands of home cooks trust SUSTEAS for their kitchen essentials: Up to 50% OFF – our biggest discount event of 2025. Black Friday Price Guarantee – shop early, save confidently. Free shipping on orders over $60 – no surprise fees. Exclusive bundles on kitchen bestsellers — juicer + blender, salad spinner + grater, and more! Whether you’re upgrading your home kitchen or finding the perfect holiday gift, these Black Friday kitchen deals are too good to miss. 🍹 Best-Selling Kitchen Products on Sale 1. Juicer Machines – Get the best Black Friday juicer deals and start your mornings fresh and full of energy. 2. Electric Kettles – Boil faster, save power, and make every tea or coffee moment easier. 3. Electric Grills – Indoor BBQ made simple; grill, roast, and toast anytime. 4. Grater & Salad Spinner Sets – Prep your veggies with ease — perfect for quick, healthy meals. 5. Smart Sensor Trash Cans – Hands-free hygiene with motion-sensor technology. All products are designed with durability, safety, and modern design in mind — because great cooking starts with great tools. ⏰ Limited-Time Offer – Don’t Miss Out! The SUSTEAS Black Friday Sale 2025 won’t last forever. Stock is limited, and once the deals are gone, they’re gone for good. 🖤 Up to 50% OFF 🛒 Shop early – prices locked until Black Friday 🚚 Free shipping over $60 👉 Shop now at SUSTEAS.com and save big on the best kitchen appliances of the year!
Learn more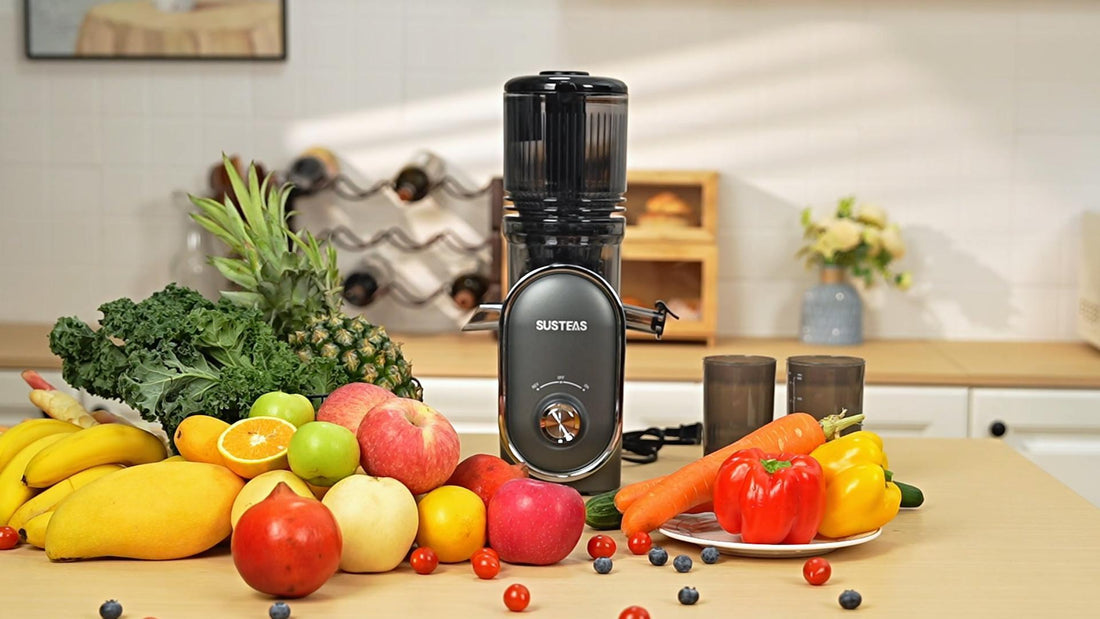
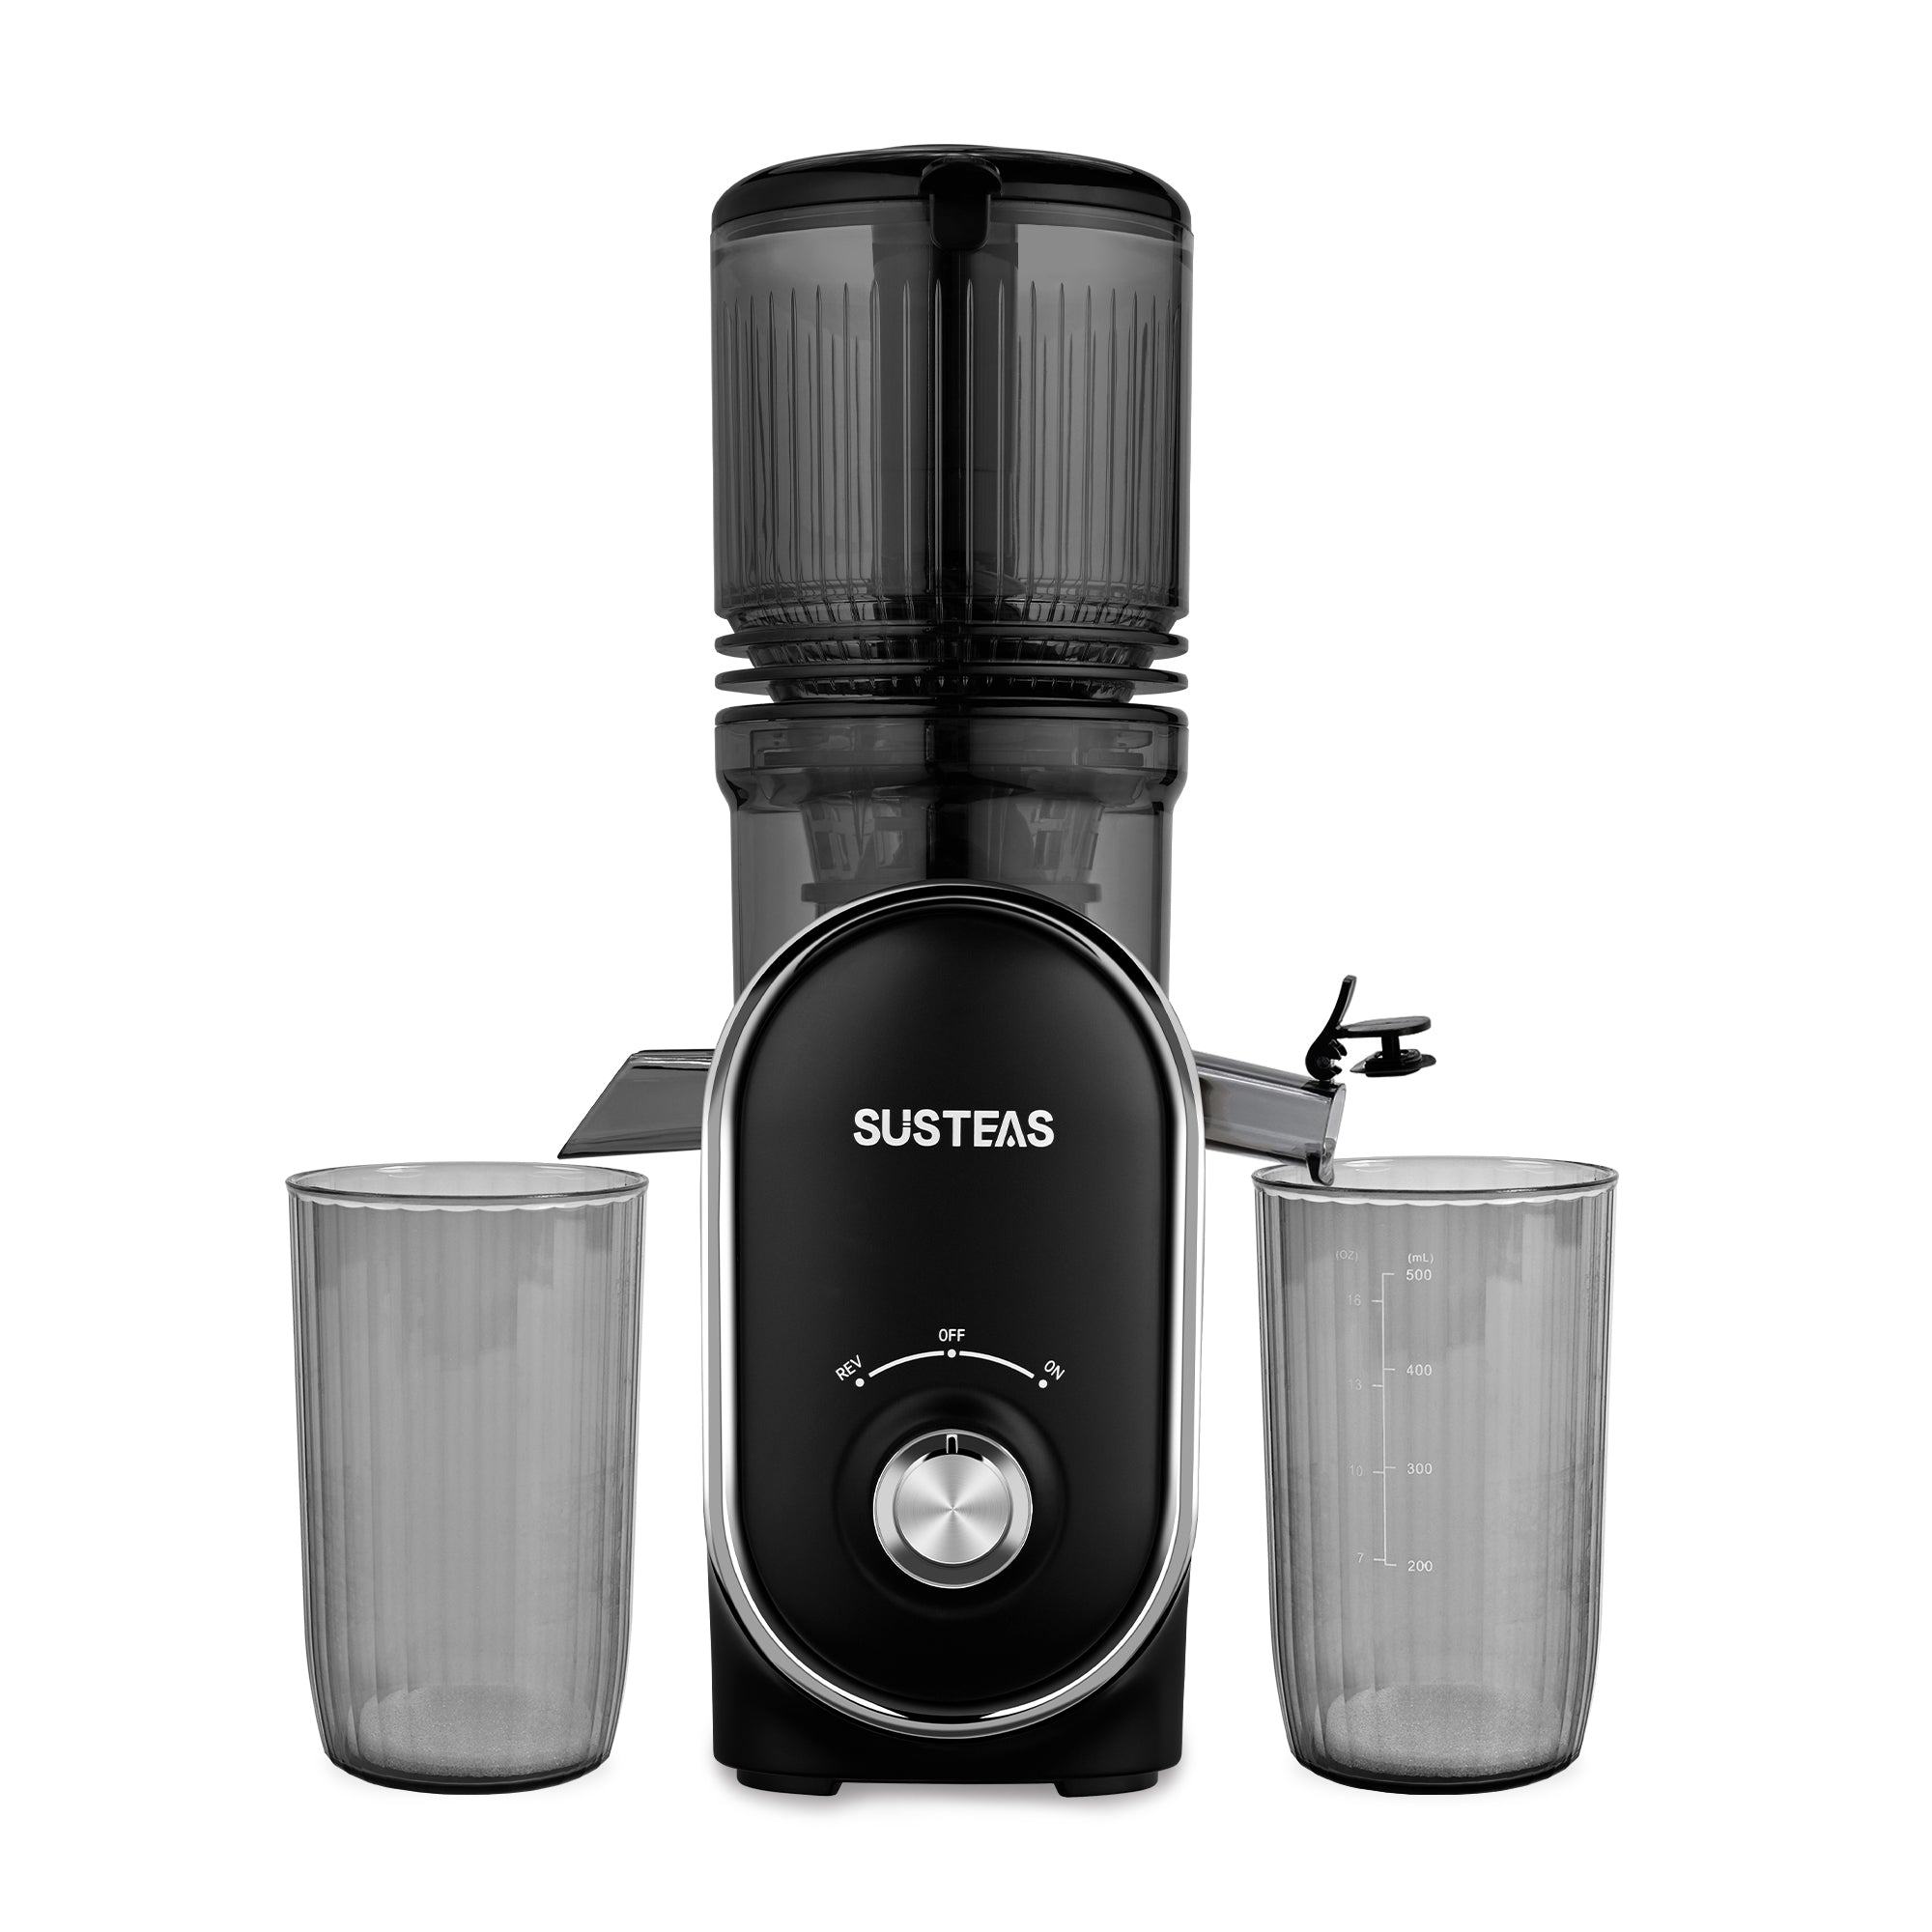
How to Choose the Best Affordable Juicer?
Fresh, homemade juice is one of the easiest ways to boost your energy, support your immune system, and enjoy a healthy lifestyle. But with so many options on the market, finding the best affordable juicer that balances quality, performance, and price can be tricky. This juicer buying guide will help you choose a high-cost-performance juicer by focusing on what really matters — durability, economy, ease of cleaning, safety, and eco-friendliness. Let’s dive in. 1. Durability: Invest in a Juicer That Lasts When it comes to juicers, longevity is key. The best juicers are built from stainless steel or BPA-free durable plastic that can handle daily use without cracking or warping. A powerful motor is equally important. For centrifugal juicers, look for at least 400 watts, while slow (masticating) juicers perform well with 150 watts or more. A strong motor ensures consistent juice extraction from tough produce like carrots, beets, or kale. Pro tip: Always check the warranty period. A long warranty (5–10 years) often signals a manufacturer’s confidence in the product’s durability and quality. 2. Economy: Find the Best Affordable Juicer for Long-Term Savings “High cost performance” doesn’t mean buying the cheapest juicer — it means finding the best value for money. Set your budget around $80–$150, which is the sweet spot for dependable juicers that perform well without luxury pricing. Pay attention to juice yield efficiency. A low-quality juicer may waste pulp, forcing you to buy more fruits and vegetables to get the same amount of juice. Over time, that increases your grocery costs. A slightly more expensive but efficient juicer can actually save you money in the long run. Look for energy-efficient models that operate with lower power consumption while maintaining high performance — they’re both economical and eco-friendly. 3. Ease of Cleaning: Keep Juicing Simple A great juicer should make your mornings easier, not more complicated. Unfortunately, many people stop juicing because cleaning is too time-consuming. Before you buy, check if the juicer’s parts are easy to remove and dishwasher-safe. Smooth surfaces and minimal crevices prevent pulp buildup and reduce scrubbing time. Choose a model with a wide feed chute, so you don’t need to cut fruits into tiny pieces. Some new juicers even include self-cleaning functions, which rinse internal components with water in seconds — perfect for busy mornings. 4. Safety: Juice with Confidence Your juicer should not only produce healthy drinks but also keep you safe while using it. Key safety features to look for: Safety lock mechanism – ensures the juicer won’t start unless assembled properly. Non-slip base – provides stability during high-speed operation. Overheat protection – automatically shuts off the motor when it gets too hot. If you have kids at home, consider a child-safe juicer with a narrow feeding tube or an automatic shutoff system. Safety is priceless, especially in a busy kitchen. 5. Eco-Friendliness: A Sustainable Juicing Choice As more consumers care about sustainability, choosing an eco-friendly juicer is both responsible and rewarding. Look for models made with recyclable materials and packaged in environmentally friendly boxes. Long-lasting construction reduces waste from frequent replacements. To go even greener, reuse the pulp — it can be added to baked goods, smoothies, or compost. Some juicers now feature energy-saving modes that minimize idle power consumption, helping you live a more sustainable lifestyle. Final Thoughts A juicer isn’t just a kitchen appliance — it’s an investment in your daily health and happiness. By focusing on durability, economy, ease of cleaning, safety, and eco-friendliness, you’ll find the best affordable juicer that delivers long-term value and delicious, nutrient-rich juice every day.
Learn more
Why Do You Need an Electric Indoor Grill?
Grilling is an essential part of family gatherings and leisure activities. However, traditional outdoor grilling can be limited by weather conditions and requires a lot of preparation and cleanup. This is where an electric indoor grill comes in, offering convenience and deliciousness to your grilling experience. Why is it convenient for indoor use?Indoor electric barbecue grills can be used in kitchens, outdoor balconies and other spaces, allowing you to enjoy barbecue at any time regardless of the weather. Imagine what a wonderful time it is for us to have a barbecue with our family and friends in a warm and comfortable home on a cold rainy day or cold snowy day, enjoying food and chatting comfortably! What health benefits does it offer compared to traditional grilling?Unlike traditional charcoal grilling, electric indoor grills use electricity or natural gas as fuel, producing no smoke or harmful gases. This means you and your family can enjoy healthier grilled food, reducing the risk of carcinogens that may be present in charcoal-grilled food. How does it provide temperature control and cooking mastery?Electric indoor grills are usually equipped with temperature control features, allowing you to precisely control the temperature of your grilling ingredients and achieve the desired cooking results. Whether it's steak, chicken wings, or vegetables, you can tailor the cooking time and temperature to your taste preferences and create delicious grilled dishes. Is it easy to clean and maintain?Electric indoor grills are easier and faster to clean and maintain than outdoor grills. Susteas Indoor Grill is equipped with removable grill grids or pots and pans, which can be easily cleaned without spending too much time and energy. It also has an anti-stick coating to prevent food from sticking and reduce the trouble of cleaning. How fast does the grill heat up, and what's the cooking time?Our electric grill features a powerful 1500W heating element and dual-sided heating, ensuring quick and even cooking. Cooking time depends on the thickness of the ingredients and desired level of doneness. How to use Susteas 3-in-1 Electric Indoor Grill?When it reaches temperature, the green preheat light goes out, so you can easily know when to start grilling. The red power light is always on. Choosing an electric indoor grill brings convenience and deliciousness to your family grilling experience. Whether indoors or outdoors, you can enjoy the pleasure of grilling at any time, creating mouth-watering food for your loved ones. Let's bring an electric indoor grill into our homes and add more joy and memorable moments to our family gatherings.
Learn more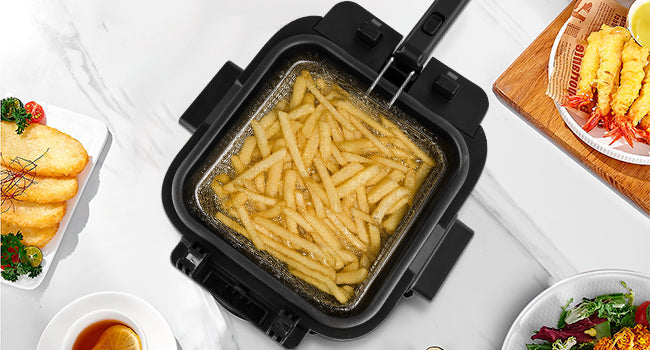
How to Choose a Good Deep Fryer?
A deep fryer can transform your home cooking experience—crispy fries, golden chicken wings, and delicious tempura are just a few of the dishes you can make effortlessly. But with so many options available, choosing the right deep fryer can feel overwhelming. Whether you’re a cooking enthusiast or simply want to make mealtime easier, here’s a complete guide to help you find a deep fryer that truly suits your needs. 1. Capacity: Choose the Right Size for Your Needs The first thing to consider is how much food you’ll typically fry at once. For small households or individuals, a fryer with a 1–2 liter capacity is usually enough. For families or gatherings, look for a 3–4 liter fryer, which can handle larger batches of food in one go. If you often entertain guests, choosing a larger capacity can save time and ensure every dish is served hot and crispy. 2. Power and Heating Efficiency Power determines how fast the fryer heats up and maintains temperature. Look for models with at least 1500 watts for small fryers and 1800–2200 watts for larger ones. High wattage helps maintain consistent heat, ensuring food cooks evenly and absorbs less oil — leading to that perfect golden crunch. 3. Safety Features Frying involves hot oil, so safety should always be a top priority. A good deep fryer should include: Cool-touch handles and exterior to prevent burns. Automatic shut-off to avoid overheating. Non-slip feet for stability on the countertop. Lid with a viewing window to prevent splatters while letting you monitor the cooking process. Some modern models even include oil filtration systems, reducing the risk of spills and keeping your kitchen cleaner. 4. Ease of Cleaning Deep fryers can get messy, especially if you cook frequently. Choose a model with removable parts such as the oil tank, basket, and lid — ideally dishwasher-safe. A non-stick interior can also make cleanup faster and prevent burnt residue from building up. Tip: Some fryers come with oil drain spouts or filtration systems that make it easier to store or reuse oil safely. 5. Temperature Control Precise temperature control is essential for different foods. Fries and chicken need higher heat (around 375°F / 190°C). Fish or doughnuts need slightly lower temperatures. Opt for a fryer with an adjustable thermostat or digital temperature control for better accuracy. Some advanced models include preset cooking programs for popular foods — making frying effortless even for beginners. 6. Oil Usage and Health Considerations If you’re concerned about health, consider a low-oil fryer or even an air fryer that uses hot air instead of deep oil. Modern deep fryers also come with oil filtration or draining systems that help extend oil life and reduce waste. For healthier results, choose oils with high smoke points, such as canola, sunflower, or peanut oil. 7. Build Quality and Material Durability matters. Stainless steel fryers are more resistant to corrosion and odors, while plastic models are lightweight and more affordable. If you plan to use your fryer often, investing in a sturdy stainless steel model will pay off in the long run. 8. Extra Features to Look For Some features that make a fryer more convenient include: Indicator lights (power and ready-to-cook) Built-in timers Odor filters to minimize cooking smells Compact storage design for small kitchens While these aren’t essential, they can make your cooking experience more enjoyable and efficient. Conclusion Choosing a good deep fryer comes down to balancing your cooking habits, safety needs, and convenience preferences. Whether you’re a beginner or a seasoned home chef, investing in the right fryer can make your meals tastier, crispier, and more fun to prepare. A high-quality fryer doesn’t just cook food — it adds a spark of joy to your kitchen, making every meal a small celebration.
Learn more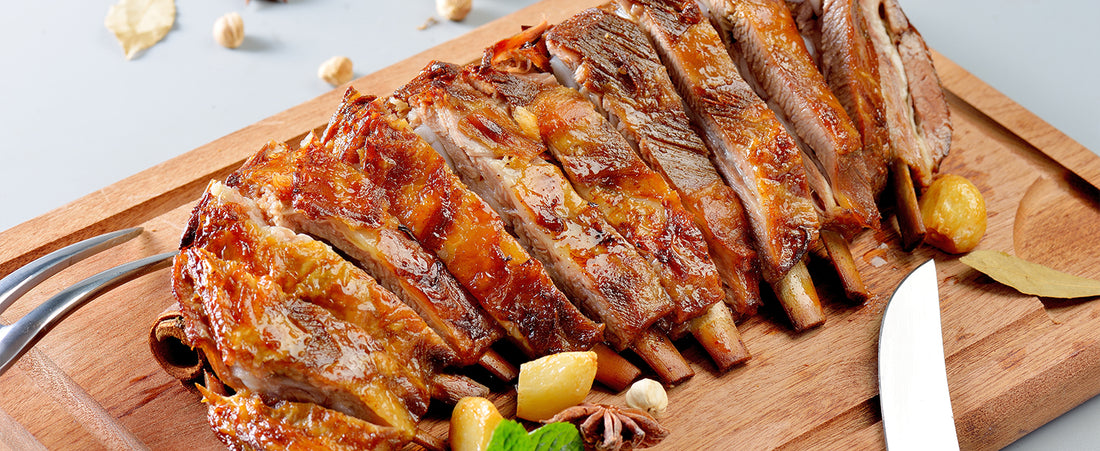
SUSTEAS Electric Indoor Grill Cooks Fish
Step 1: Prepare the SteakStart by taking the steak cuts out of the refrigerator and allowing them to come to room temperature. This helps ensure even cooking. Meanwhile, preheat the SUSTEAS Electric Indoor Grill to the desired temperature for grilling steak.Step 2: Season and Oil the SteaksBrush both sides of the steak cuts with olive oil, ensuring they are well coated. This not only prevents sticking but also adds flavor to the meat. Generously season the steaks with salt and pepper, along with any additional seasonings you prefer, such as garlic powder or onion powder.Step 3: Fire Up the GrillOnce the grill is preheated, place the seasoned steaks on the grill, making sure they are arranged in a single layer and not overlapping. Close the lid of the grill to create a controlled cooking environment.Step 4: Grill to PerfectionCook the steaks for approximately 3-4 minutes per side for medium-rare. Adjust the cooking time based on your desired level of doneness and the thickness of the steaks. Remember, thicker cuts may require additional cooking time.Step 5: Flip with CareUsing tongs or a spatula, carefully flip the steaks to the other side. This allows for even cooking and the development of a beautiful crust. Close the lid and continue grilling for an additional 3-4 minutes.Step 6: Rest and ServeOnce the steaks have reached your preferred level of doneness, remove them from the grill and transfer them to a cutting board or serving platter. Allow the steaks to rest for a few minutes, as this helps the juices redistribute, resulting in a more flavorful and tender bite.Step 7: Slice and EnjoyAfter the resting period, slice the steaks against the grain to maximize tenderness. Serve the grilled steaks immediately, either on their own or accompanied by your favorite side dishes. For an extra touch, garnish with fresh herbs or drizzle with a complementary sauce.Remember, cooking times may vary depending on factors like steak thickness and personal preference. To ensure accuracy, use a meat thermometer to check the internal temperature. Aim for 125°F (52°C) for medium-rare, 135°F (57°C) for medium, or 145°F (63°C) for medium-well.Embrace the experience of grilling steak with the SUSTEAS Electric Indoor Grill and savor the delicious results!
Learn more
SUSTEAS Electric Indoor Grill Cooks Fish
Grilled Fish Recipe:Ingredients:2 fish fillets (such as salmon, tilapia, or cod)2 tablespoons olive oilSalt and pepper to tasteLemon wedges for servingOptional: Fresh herbs (such as dill or parsley) for garnish Instructions:1. Preheat the SUSTEAS Electric Indoor Grill and set it to the desired temperature for grilling fish. Make sure the grill plates are clean and non-stick.2. Pat the fish fillets dry with a paper towel to remove any excess moisture. This helps to ensure a crispy exterior when grilling.3. Brush both sides of the fish fillets with olive oil, ensuring they are evenly coated.4. Season the fish fillets with salt and pepper to taste. You can also add any additional seasonings or spices that you prefer.5. Once the grill is preheated, place the fish fillets on the grill, making sure they are in a single layer and not overlapping.6. Close the lid of the grill and cook the fish for about 3-4 minutes per side, depending on the thickness of the fillets. The fish is ready when it is opaque and easily flakes with a fork.7. Carefully flip the fish fillets using tongs or a spatula, and continue grilling for an additional 3-4 minutes on the other side.8. Once the fish is fully cooked, remove it from the grill and transfer it to a serving platter.9. Squeeze fresh lemon juice over the grilled fish fillets for added flavor. Garnish with fresh herbs if desired.10. Serve the grilled fish immediately while it's still hot. It pairs well with a side of steamed vegetables, rice, or a fresh salad.Note: Cooking times may vary depending on the thickness and type of fish you're using. It's essential to monitor the fish closely to prevent overcooking.Enjoy your grilled fish made with the SUSTEAS Electric Indoor Grill!
Learn moreSusteas Panini Press with Non-Stick Cooking Plates makes waffles
Waffle Recipe:Ingredients:1 ½ cups all-purpose flour2 tablespoons granulated sugar2 teaspoons baking powder½ teaspoon salt1 ¼ cups milk2 large eggs1 teaspoon vanilla extract¼ cup unsalted butter, melted Instructions:1. Preheat the SUSTEAS Panini Press and set it to the waffle setting. Make sure the grill plates are clean and non-stick.2. In a large mixing bowl, whisk together the flour, sugar, baking powder, and salt until well combined.3. In a separate bowl, whisk together the milk, eggs, and vanilla extract until well beaten.4. Pour the wet ingredients into the dry ingredients and whisk until just combined. Be careful not to overmix; a few lumps are fine.5. Slowly pour in the melted butter while whisking the batter until it is fully incorporated.6. Once the grill is preheated, lightly grease the grill plates with non-stick cooking spray or brush with melted butter.7. Pour the waffle batter onto the center of the lower grill plate, spreading it evenly but not overflowing. The amount of batter will depend on the size of your grill plates.8. Close the lid of the grill and let the waffle cook for about 4-6 minutes, or until golden brown and crisp.9. Carefully open the grill and use a fork or spatula to lift the cooked waffle off the grill. Repeat the process with the remaining batter until all the waffles are cooked.10. Serve the waffles warm with your favorite toppings such as maple syrup, fresh fruits, whipped cream, or chocolate sauce.Note: Make sure to follow the specific instructions and settings provided by the SUSTEAS Panini Press manufacturer for cooking waffles.Enjoy your homemade waffles made with the SUSTEAS Panini Press!
Learn more
Grilled Vegetable Panini Recipe
Grilled Vegetable Panini Recipe: Ingredients: 1 zucchini, sliced lengthwise 1 yellow squash, sliced lengthwise 1 red bell pepper, seeded and sliced into strips 1 red onion, sliced into rings 4 slices of your favorite bread (such as ciabatta or whole wheat) 4 slices of cheese (such as mozzarella or cheddar) Olive oil Salt and pepper to taste Optional: Pesto or mayonnaise for spreading Instructions: 1. Preheat the susteas 3-in-1 Electric Indoor Grill to medium-high heat. 2. Drizzle the zucchini, yellow squash, red bell pepper, and red onion slices with olive oil, and season with salt and pepper to taste. 3. Place the sliced vegetables on the preheated grill, making sure they are in a single layer. Close the grill and cook for about 3-4 minutes, or until they are tender and have grill marks. Flip the vegetables halfway through the cooking time. 4. While the vegetables are grilling, lightly toast the bread slices in a toaster or under the broiler. 5. Once the vegetables are done, remove them from the grill and set aside. 6. Assemble the panini: Take two slices of toasted bread and spread pesto or mayonnaise on one side of each slice (optional). On the other side of one slice, place a slice of cheese, followed by a layer of grilled vegetables. Top with another slice of cheese and cover with the second slice of bread, pesto/mayonnaise side down. 7. Place the assembled panini onto the grill, close the lid, and cook for about 3-4 minutes, or until the bread is golden brown and the cheese has melted. 8. Carefully remove the panini from the grill and let it cool for a minute before slicing it in half. 9. Serve the grilled vegetable panini warm and enjoy! Note: Feel free to customize your panini by adding other ingredients like sliced tomatoes, fresh basil leaves, or even some thinly sliced deli meats. Enjoy your homemade grilled vegetable panini made with the versatile Susteas 3-in-1 Electric Indoor Grill!
Learn more